12 Oil Painting Techniques Everyone Should Know
Author:
GeorgeUpdated:
21.04.2025


- Core Principles of Oil Painting
- 1.1. Fat over lean
- 2.2. Thick over thin
- 3.3. Slow-drying over fast-drying
- 1.
- Foundational Oil Painting Techniques
- 4.1. Underpainting
- 5.2. Blocking In
- 6.3. Glazing
- 7.4. Scumbling
- 8.5. Dry Brushing
- 9.6. Grisaille
- 4.
- Expressive & Advanced Oil Techniques
- 10.7. Alla Prima (Wet-on-Wet)
- 11.8. Impasto
- 12.9. Sfumato
- 13.10. Sgraffito
- 14.11. Transitional Blending
- 15.12. Adding Dry Mediums
- 10.
- What Tools and Materials to Use
Most beginners ruin their first oil painting by layering the paint incorrectly. Then it cracks, colors muddy, or entire sections peel off after a few months. That might stop you from ever continuing oil painting.
Oil painting isn’t complicated, but it is technical. If you don’t understand how paint dries, how layers interact, or how to control opacity and texture, your painting will suffer, even if your idea is great.
Core Principles of Oil Painting
Before moving on to the specific techniques, let’s understand how oils work.
Oil paint dries differently than acrylic or watercolor. It hardens through oxidation, not evaporation. That means drying happens from the inside out, and it can take weeks or even months. If you don’t build your layers correctly, the surface might look dry while the layers underneath are still shifting. This causes cracks or flaking over time.
1. Fat over lean
Each new layer should have more oil than the one beneath it. That’s because oil makes paint flexible. If a stiff, fast-drying layer is on top of a slow-drying one, it may crack. You can control this by adding a little more oil or medium to your paint in each layer.
2. Thick over thin
Apply thick paint on top of thin paint. Thin layers dry faster and form a solid base. Thick layers take longer to dry, so placing them on top prevents cracking or sinking.
3. Slow-drying over fast-drying
Build your painting with slow-drying layers on top. If a quick-drying layer sits above one that dries slowly, the top may harden while the bottom is still curing. This leads to instability and cracks.
These three rules work together. They keep your painting from falling apart and make sure each layer bonds properly.
“I don't give importance to technique. I condition everything so that the painting has spirit, in every way. If not, technique does not do me any good.” - Antonio López García highlights the necessity of emotional dept in art.
Foundational Oil Painting Techniques
Every oil painting starts with structure. These techniques help you plan your composition, control values, and build stable layers. They’re essential for avoiding technical mistakes and for getting consistent results.
1. Underpainting

Underpainting is your base layer. It helps you plan your composition, define light and shadow, and build a stronger final image. Instead of starting on a blank white canvas, you create a rough version of your painting using thinned paint in one or two colors.
This makes it easier to map out proportions and values early. You can fix mistakes before committing to full color. It also adds depth, later layers sit better when they’re built on top of a solid structure.
There are different types of underpainting:
- Grisaille: done in greyscale using black and white
- Brunaille: uses brown tones
- Ébauche: uses muted colors close to your final palette
Use thin paint and avoid too much oil in this stage. Let it dry completely before moving on.
2. Blocking In

Blocking in makes starting easier. Instead of focusing on detail, you break your subject into basic shapes and colors. This gives you a rough version of your composition early on.
You use a larger brush and work quickly. Cover the canvas with flat areas of color to establish the structure, value, and proportions. You can adjust shapes and edges more easily at this stage than later.
This technique helps you avoid getting stuck on one area. It also lets you see how your painting is coming together as a whole. You can block in with paint, or use a palette knife if you want more texture.
Keep the paint thin and the colors simple. Once the layout feels balanced, you can start refining.
3. Glazing
Glazing means adding a thin, see-through layer of paint on top of a dry layer. It changes the color underneath without covering it. This helps you create richer colors and more depth in your painting.
It works well when your first layer has strong lights and darks. The glaze adjusts the color while still letting that layer show through. This makes the painting look more vibrant.
To glaze, mix your paint with a little oil or medium like Liquin. Use just a small amount of color. Let the layer dry completely before adding another one. That way, the colors stay clean and don’t mix together.
4. Scumbling
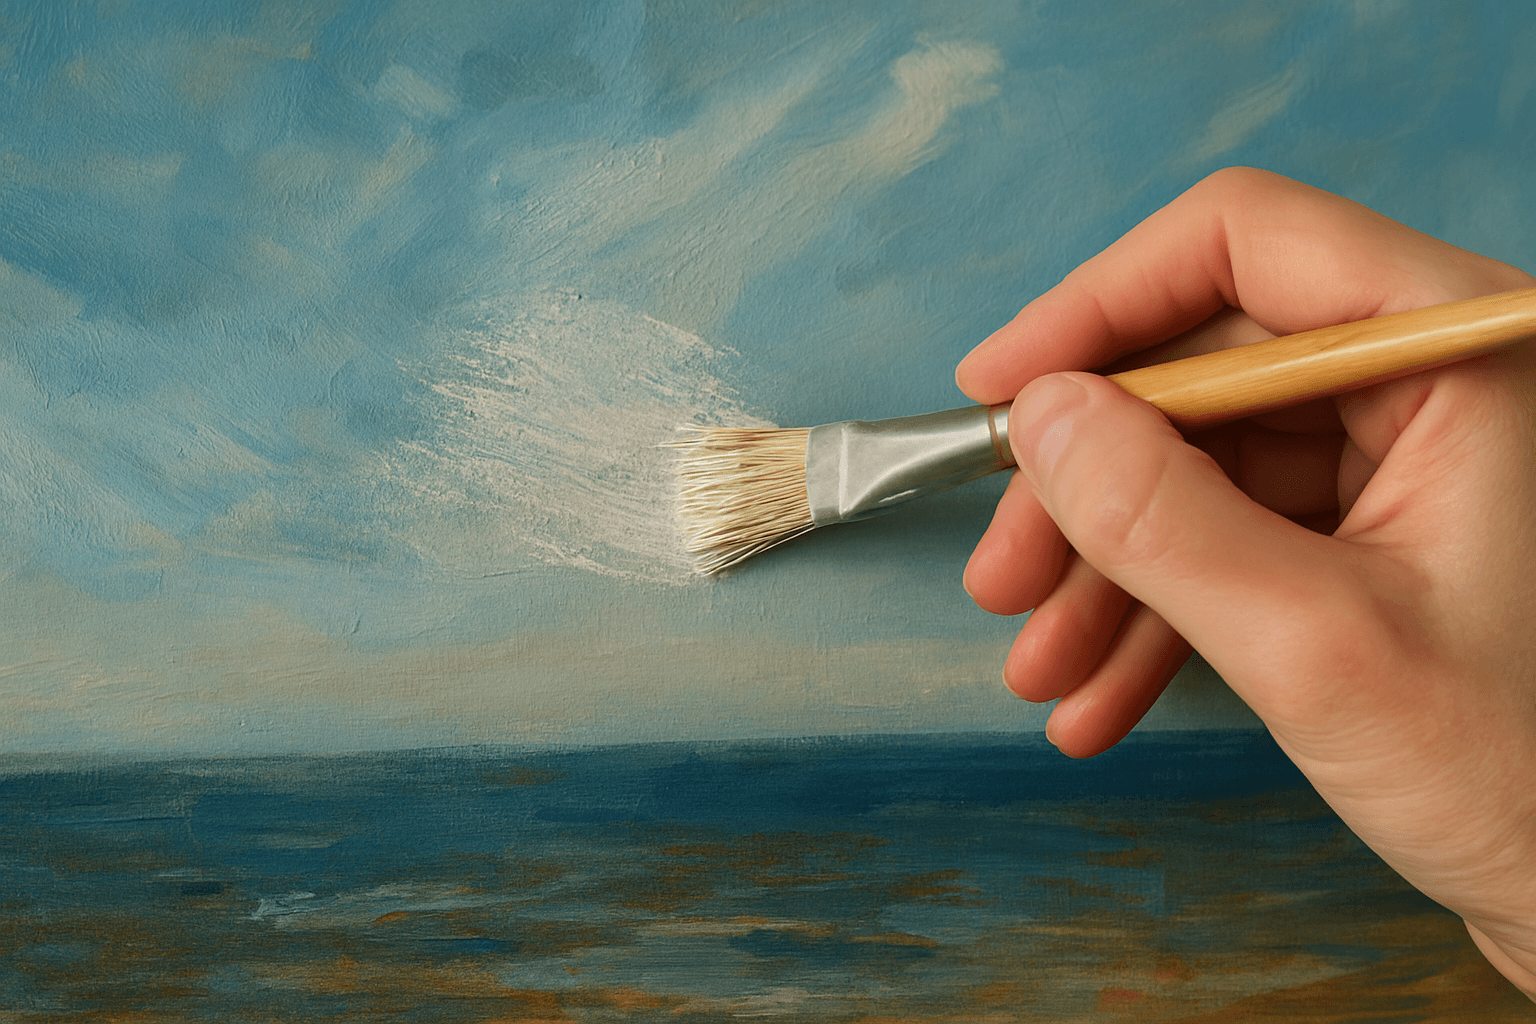
Scumbling is a way to add texture and soft light to your painting. You use a dry brush and a small amount of paint. Then, you lightly drag it across the surface so that the layer underneath still shows through.
It works best over a dark or colored base. The broken layer on top creates a soft, hazy effect. You can use it to lighten areas, add atmosphere, or show rough textures like fabric, clouds, or stone.
Don’t add any oil or medium to the paint. Keep your brush dry and use a stiff bristle brush for the best result.
5. Dry Brushing
Dry brushing is similar to scumbling but even lighter. You use a dry brush with very little paint and lightly drag it across the surface. This creates soft lines or a dusty, smoky look.
It’s useful for showing highlights, texture, or soft edges. You can also use it to gently blend colors or add light on top of darker layers.
Make sure your brush is completely dry - no oil, no medium, and no water. Use stiff brushes and press very lightly. This technique works well for details like hair, fabric, or mist. If you can’t differentiate them, read about oil painting brushes!
6. Grisaille
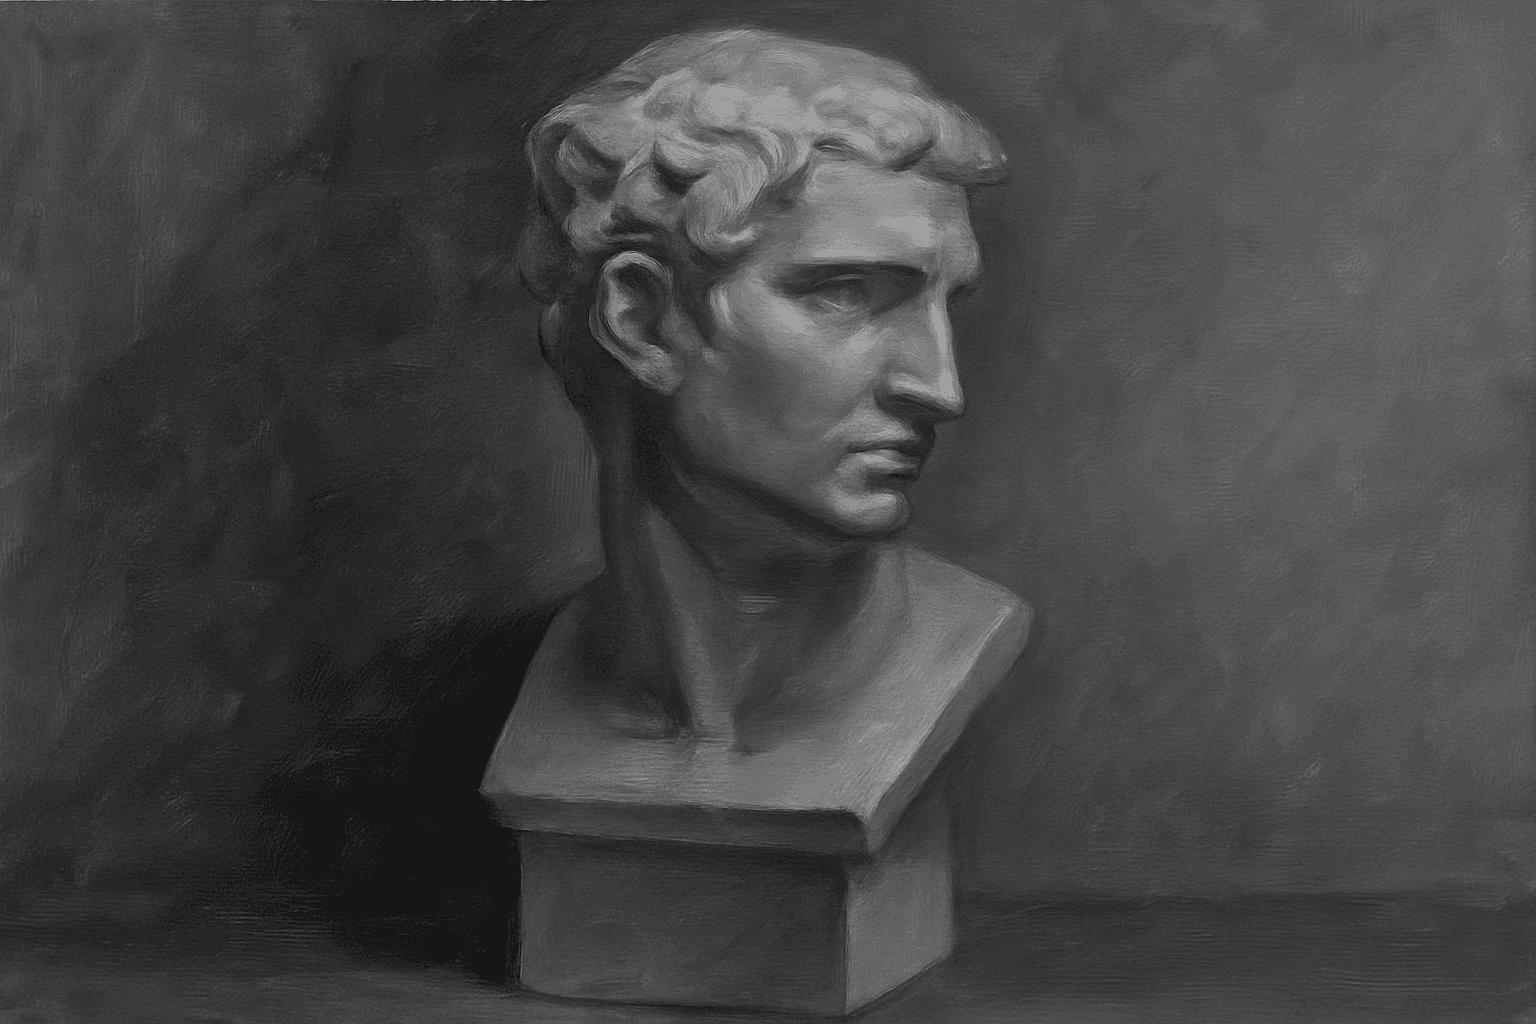
Grisaille is a way to paint using only shades of grey. You build the image with just black, white, and everything in between. It’s often used as an underpainting to plan light and shadow before adding color.
This technique helps you focus on values without getting distracted by color. It’s useful for learning how light works and for creating a strong structure underneath the painting.
You can leave a grisaille as it is, or glaze color over it once it’s dry. Make sure the paint is thin and dries fully before adding more layers.
Expressive & Advanced Oil Techniques
Once you’ve learned the basics, these techniques give you more creative control. They help you add texture, movement, and emotion to your work. Some are simple to try. Others take practice. But all of them can make your painting more powerful and personal.
“If we are masters of our technique, then we can make our ideas visible to other people.” - Virgil Elliott.
7. Alla Prima (Wet-on-Wet)

Alla prima means finishing a painting in one sitting. You work while the paint is still wet, layering new strokes on top without waiting for anything to dry.
This technique is fast and expressive. It’s great for capturing light, mood, or movement. You don’t need to plan as many layers, but you do need to work with confidence and make decisions as you go.
Use thicker paint and fewer brushstrokes. Blend colors on the canvas, not on the palette. This method is often used for portraits, studies, or loose, painterly styles.
8. Impasto
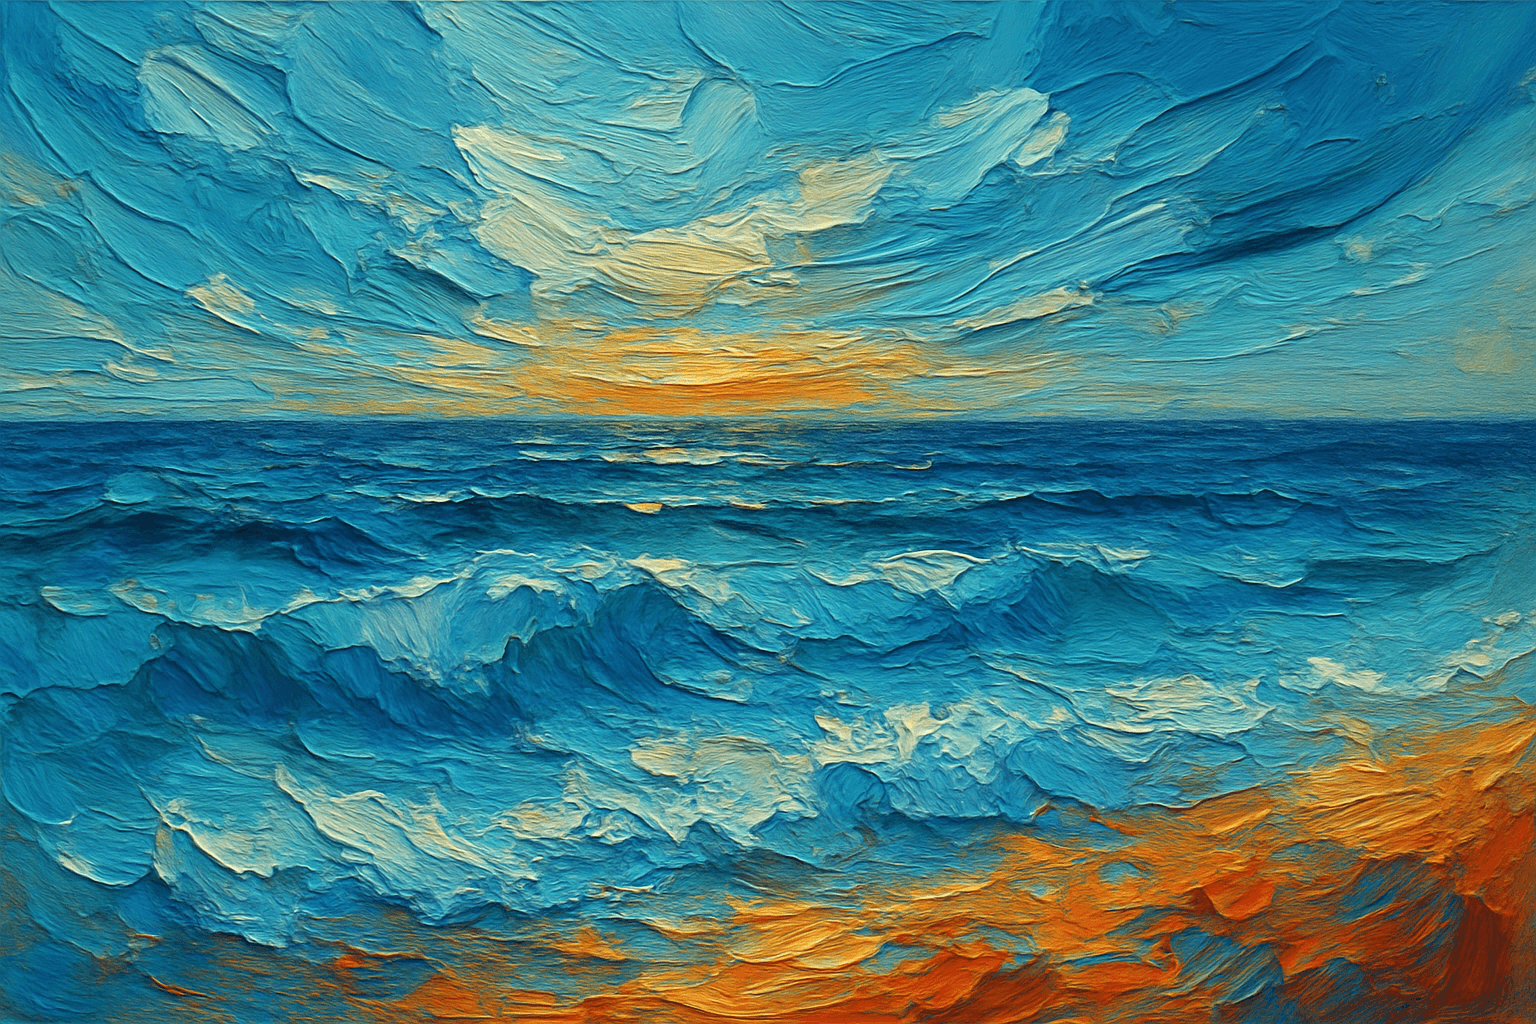
Impasto means painting with thick, textured strokes. You apply the paint in a way that makes it stand out from the surface. Each brush or knife mark stays visible.
This technique adds weight and movement to your painting. It works well for highlights, texture, or areas you want to draw attention to.
You can use paint straight from the tube or mix it with an impasto medium to save paint and speed up drying. Apply it with a brush or palette knife. Let it dry fully before adding anything on top.
9. Sfumato
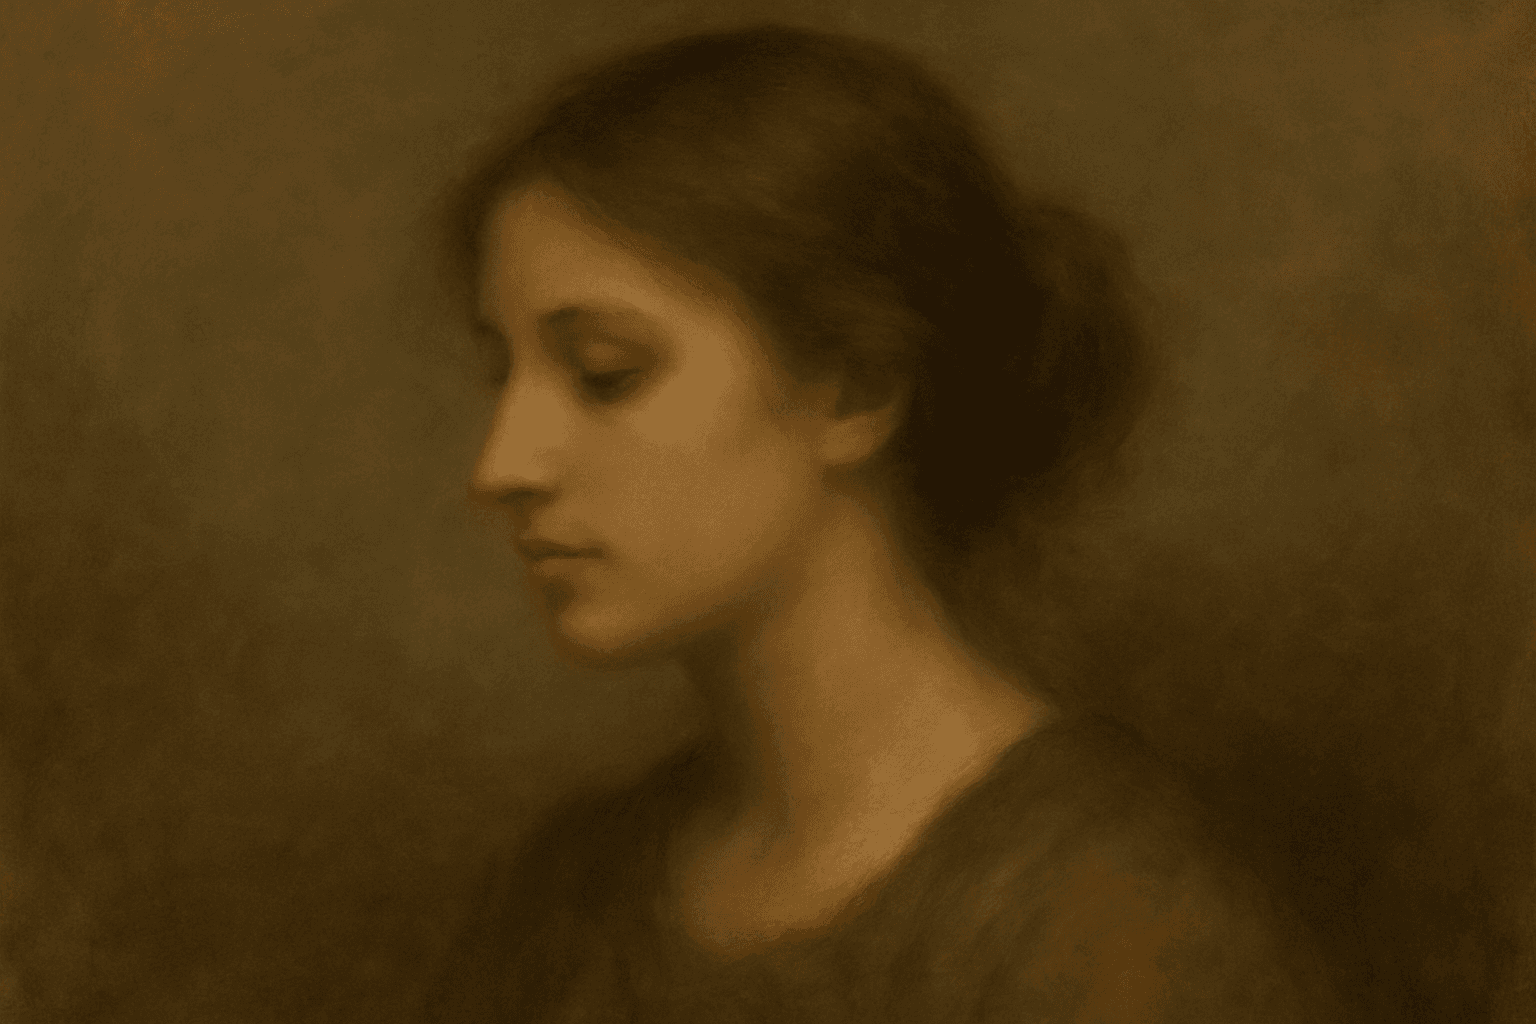
Sfumato is a blending technique that softens edges. It creates smooth transitions between light and shadow with no hard lines.
This method is useful for faces, skin, smoke, or anything with a gentle, natural look. It helps your painting feel more realistic and less sharp.
To do it, use a soft brush and blend lightly while the paint is still wet. Keep your hand light and avoid strong outlines. The goal is to fade one tone into another, like a shadow slowly disappearing.
10. Sgraffito
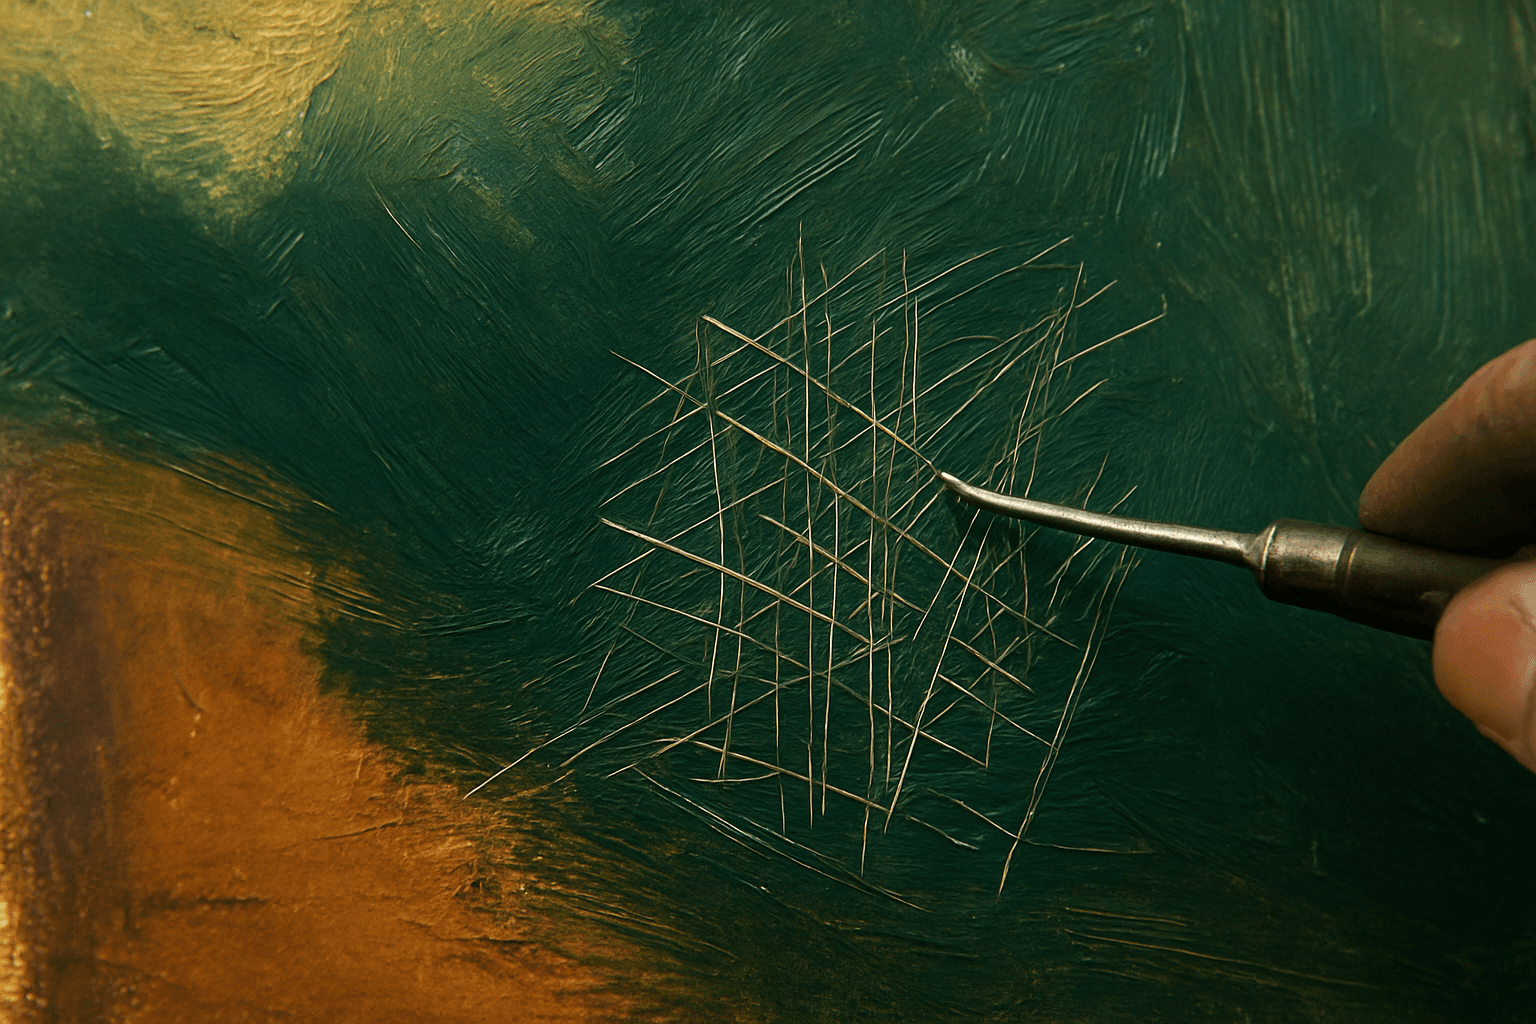
Sgraffito means scratching into wet paint to reveal the layer underneath. It adds texture, detail, or contrast to your painting.
You can use a palette knife, toothpick, or any sharp tool. Just be gentle so you don’t damage the surface.
It works best if you’ve already built up a few layers of color. Scratch through the top layer while it’s still wet to show the colors or texture below. You can use this for hair, patterns, highlights, or rough surfaces.
11. Transitional Blending
Transitional blending helps you fade one color into another smoothly. It’s useful for skies, skin, or any area where you want soft color changes.
Start by applying the colors side by side in bands. Then use a clean, dry brush to gently blend where they meet. Work lightly and in one direction to keep the paint smooth.
This technique gives your painting a polished look and helps avoid harsh lines between colors.
12. Adding Dry Mediums
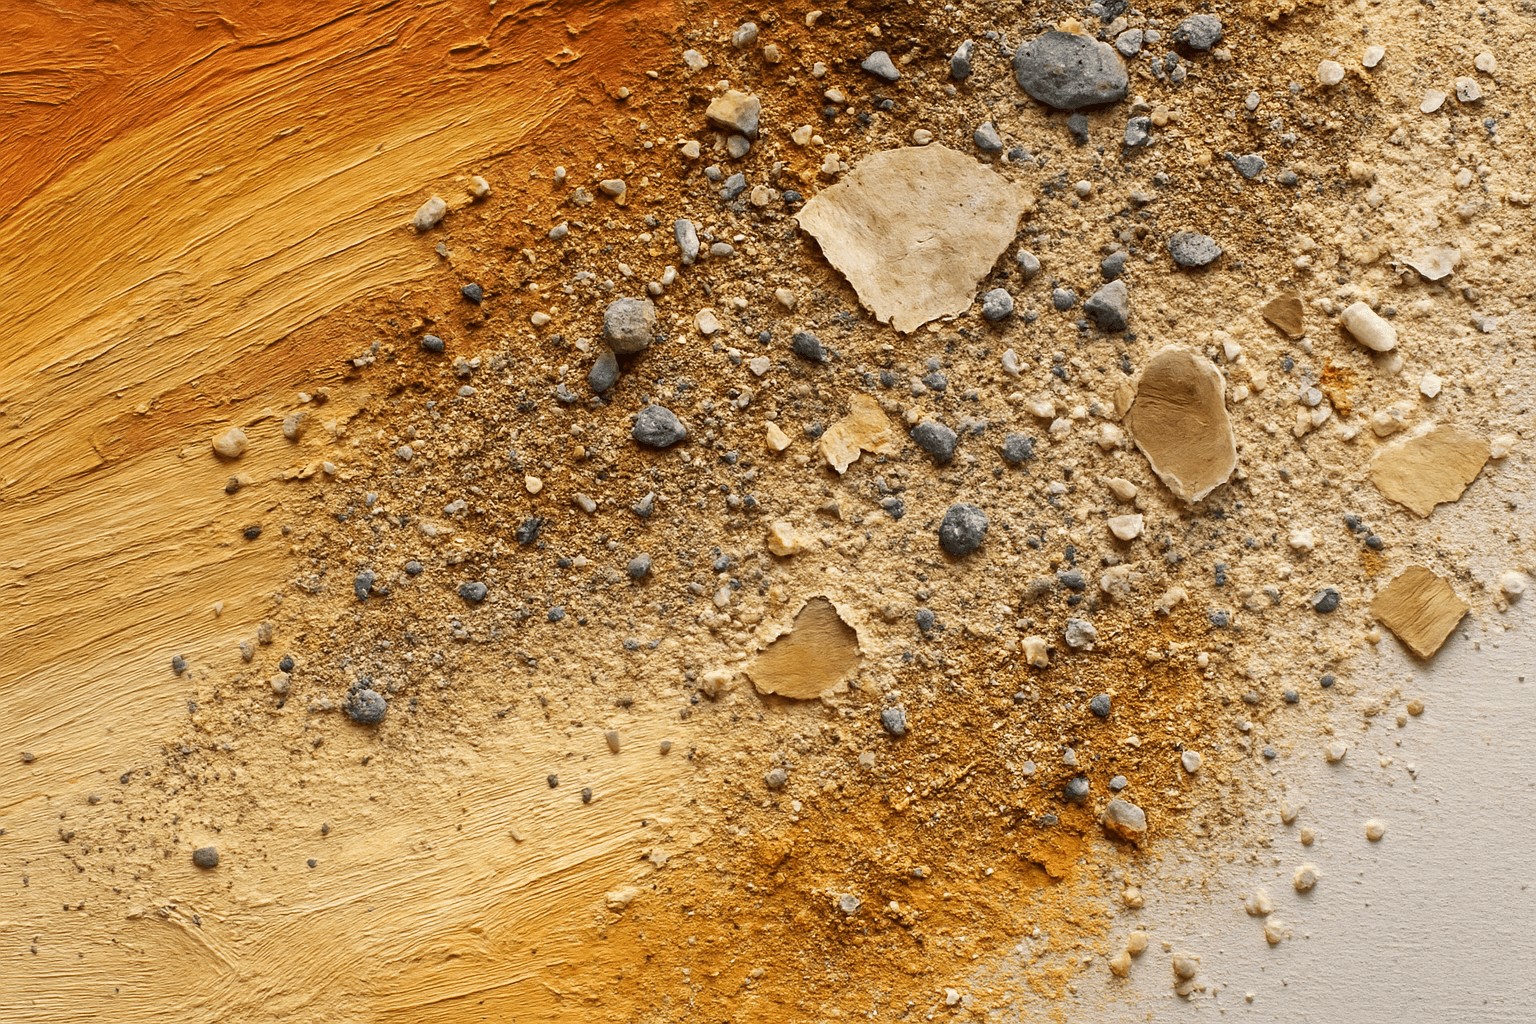
You can mix dry materials into your oil paint to create texture. Things like sand, paper, fabric, or beads can be added before the paint dries.
This gives your painting a rough or raised surface and makes it more tactile. It works well for abstract art, backgrounds, or mixed media effects.
Make sure the materials are clean and dry. Press them into thick paint or mix them in directly. Once it’s dry, you can glaze over it to add color and shine.
What Tools and Materials to Use
Use stiff brushes like hog bristle for texture and softer ones for blending or detail. A palette knife helps with mixing, thick strokes, or scraping off mistakes. For smoother paint or faster drying, try mediums like linseed oil or Liquin. To thin oil paint or clean brushes, use odorless mineral spirits or Gamsol, avoid hardware store solvents.
Pre-primed canvas is the easiest surface to start with, but canvas boards and panels also work well. Choose a palette you find easy to clean, glass, wood, or disposable paper are all good options. Keep your tools simple at first, then try new ones as you get more confident.
Read the basic oil supplies guide for more information.
Conclusion
Understanding oil painting techniques is important no matter your skill level. Beginners need the basics to build a solid foundation. Experienced artists benefit from revisiting these techniques to fix old habits, improve control, or try new styles.
Here’s one more tip: try turning your painting upside down while working on it. This helps you focus on shapes and values instead of the subject. It’s a simple way to spot mistakes and improve your composition.
If you need inspiration, take a look at the oil paintings by the artists at Photo2Painting. Their custom work shows how powerful oil painting can be when technique meets creativity.
Frequently Asked Questions
What are the techniques used in oil painting?
Oil painting techniques include underpainting, glazing, scumbling, dry brushing, impasto, alla prima, grisaille, sfumato, sgraffito, and transitional blending. Each technique offers different ways to control texture, color, and depth.
What are the three rules of oil painting?
The three rules of oil painting are:
- Fat over lean – each layer should have more oil than the one below.
- Thick over thin – thicker paint goes on top of thinner paint.
- Slow-drying over fast-drying – slow-drying layers should be applied above fast-drying ones to prevent cracking.
What does underpainting do?
Underpainting creates a base layer that helps define the structure, values, and tones of a painting. It guides the final layers and adds depth by allowing the lower layer to influence the colors above.
What is the Scumbling technique in oil painting?
Scumbling is a dry-brush technique where a small amount of light or opaque paint is dragged over a darker, dry layer. It adds texture and softens areas while letting the base layer show through.
How to avoid cracks in oil painting?
To avoid cracks in oil painting, follow the fat over lean rule. Make sure each new layer contains more oil than the one below it. Let layers dry fully before adding more, and avoid painting fast-drying layers over slow-drying ones.
George, CEO of Photo2painting, is a passionate art lover and entrepreneur. He founded Photo2painting.com from scratch, inspired by his artist friends. As the company's CMO, he manages content and marketing.
Excellent Customer Reviews