How to Start Oil Painting - Supplies, Techniques and Tips
Author:
GeorgeUpdated:
24.02.2025


- What Supplies Do You Need to Start Oil Painting?
- 1.1. Paints
- 2.2. Brushes
- 3.3. Palette
- 4.4. Surfaces
- 5.5. Mediums
- 6.6. Solvents
- 7.7. Additional Tools
- 1.
- How to Set Up Your Space For Oil Painting?
- How to Prepare Before You Start Your Oil Painting?
- 8.1. Stain a Canvas
- 9.2. Sketch Your Composition
- 8.
- Beginner-Friendly Oil Painting Techniques You Can Try
- 10.Alla Prima (Wet-on-Wet)
- 11.Layering (Fat Over Lean)
- 12.Blocking In Shapes
- 13.Blending
- 14.Palette Knife Techniques
- 10.
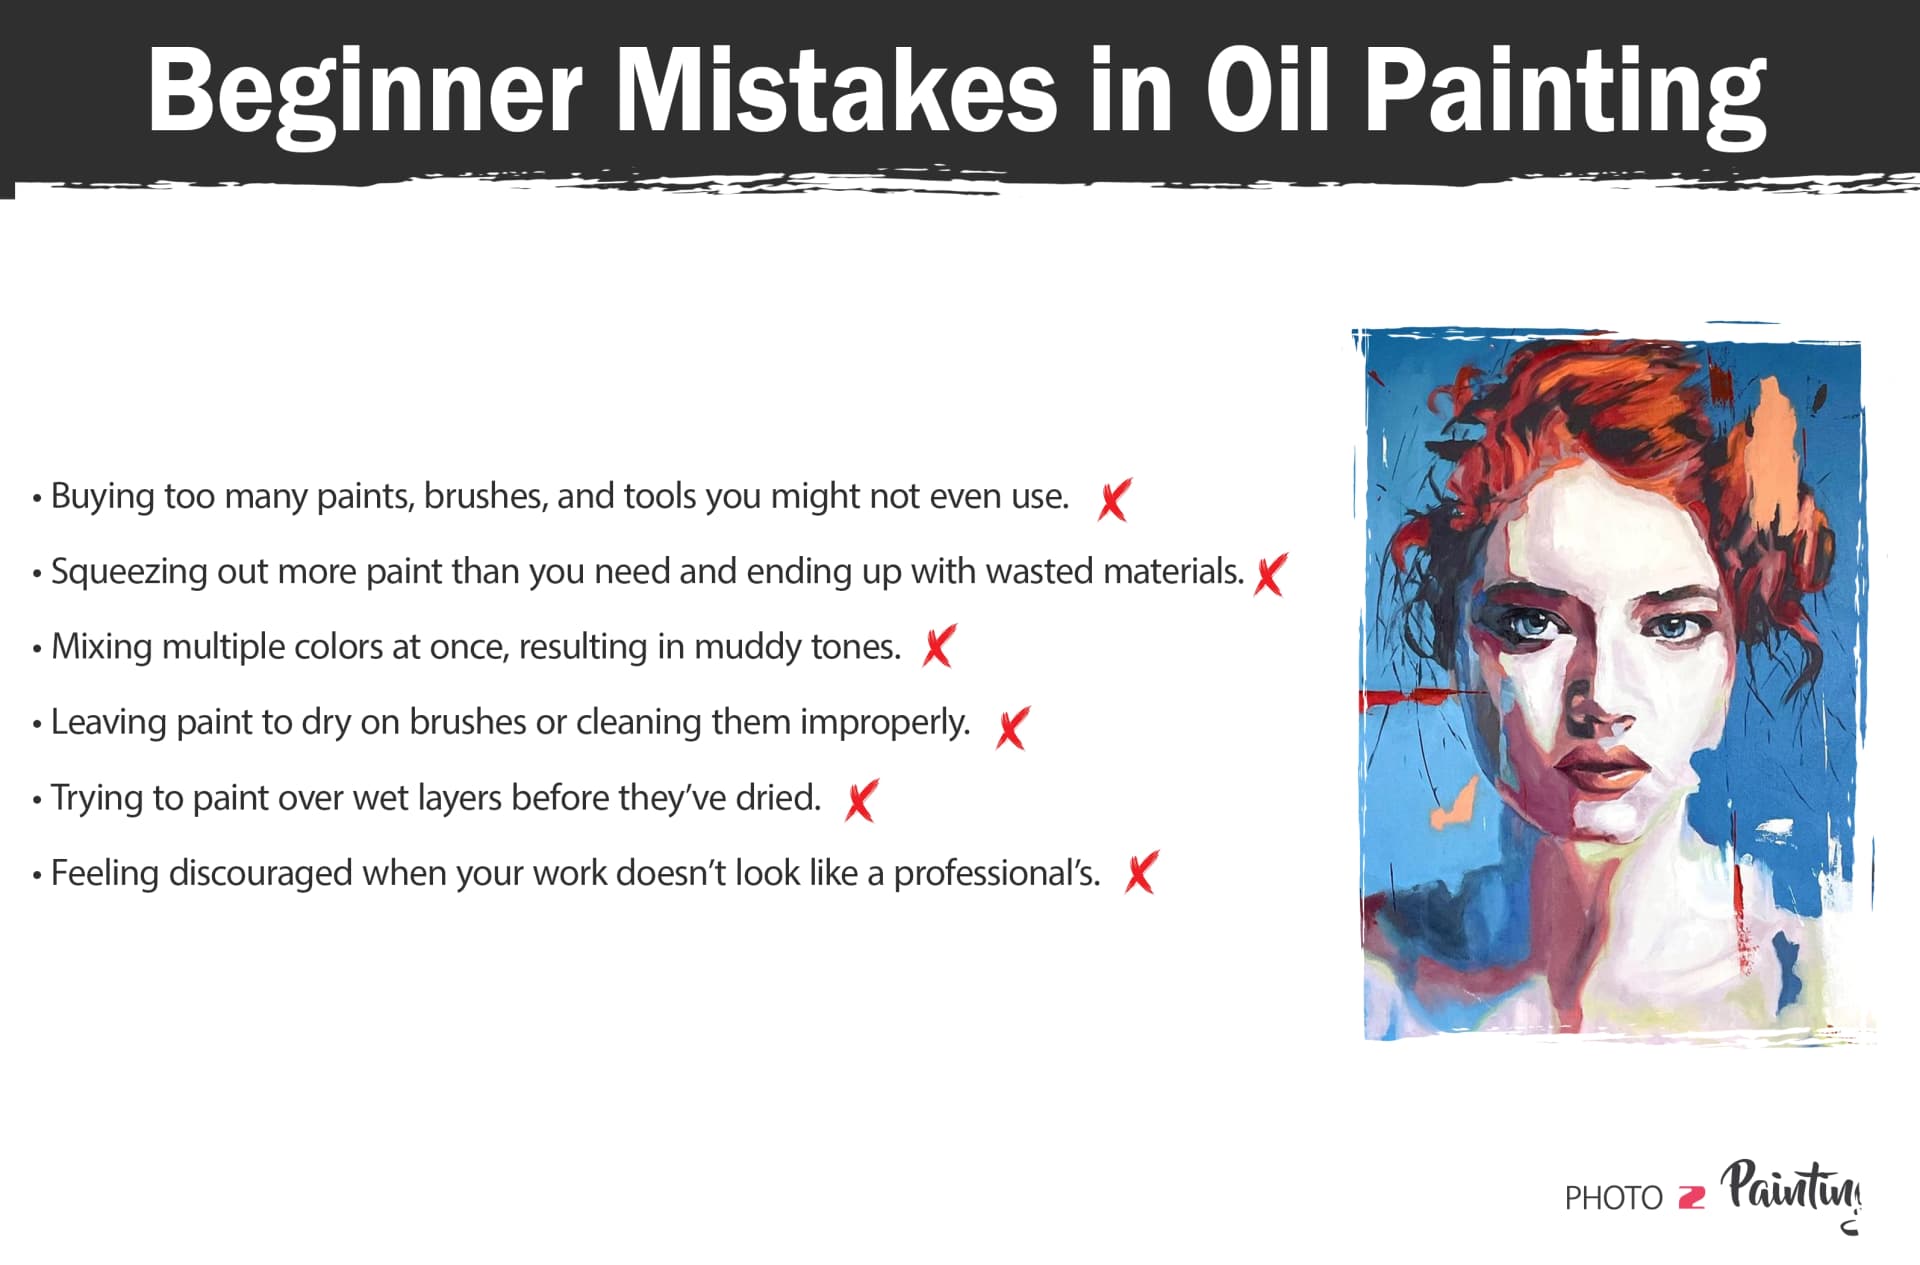
- Beginner Mistakes to Avoid in Oil Painting
- 15.1. Don’t Overload the Supplies
- 16.2. Don’t Use Too Much Paint
- 17.3. Don’t Mix Too Many Colors
- 18.4. Don’t Neglect Brush Care
- 19.5. Don’t Rush the Drying Process
- 20.6. Don’t Compare Yourself to Others
- 15.
Starting oil painting can feel overwhelming—so many tools, techniques, and myths about its complexity. You’ve probably heard that it’s messy, expensive, and requires years of training to even produce something worth looking at.
You might already be using another medium and wondering if it's worth switching. Or, you might not have even tried any of them. Some artists might urge you to start with acrylics instead of oils because they are less costly. But, here's a thing: all those “barriers” are more manageable than you might think and actually what makes oils so special.
Actually, you just need a few essential supplie - like a limited palette, some affordable brushes, and a primed surface. You can easily set up a beginner-friendly workspace without spending too much money or time. Oil painting isn't just about creating art - it's about enjoying the process, experimenting, and letting yourself make mistakes.
“Oil painting is a means of self-discovery. Every stroke teaches you something about yourself and the world around you.” - says John Berger.
What Supplies Do You Need to Start Oil Painting?
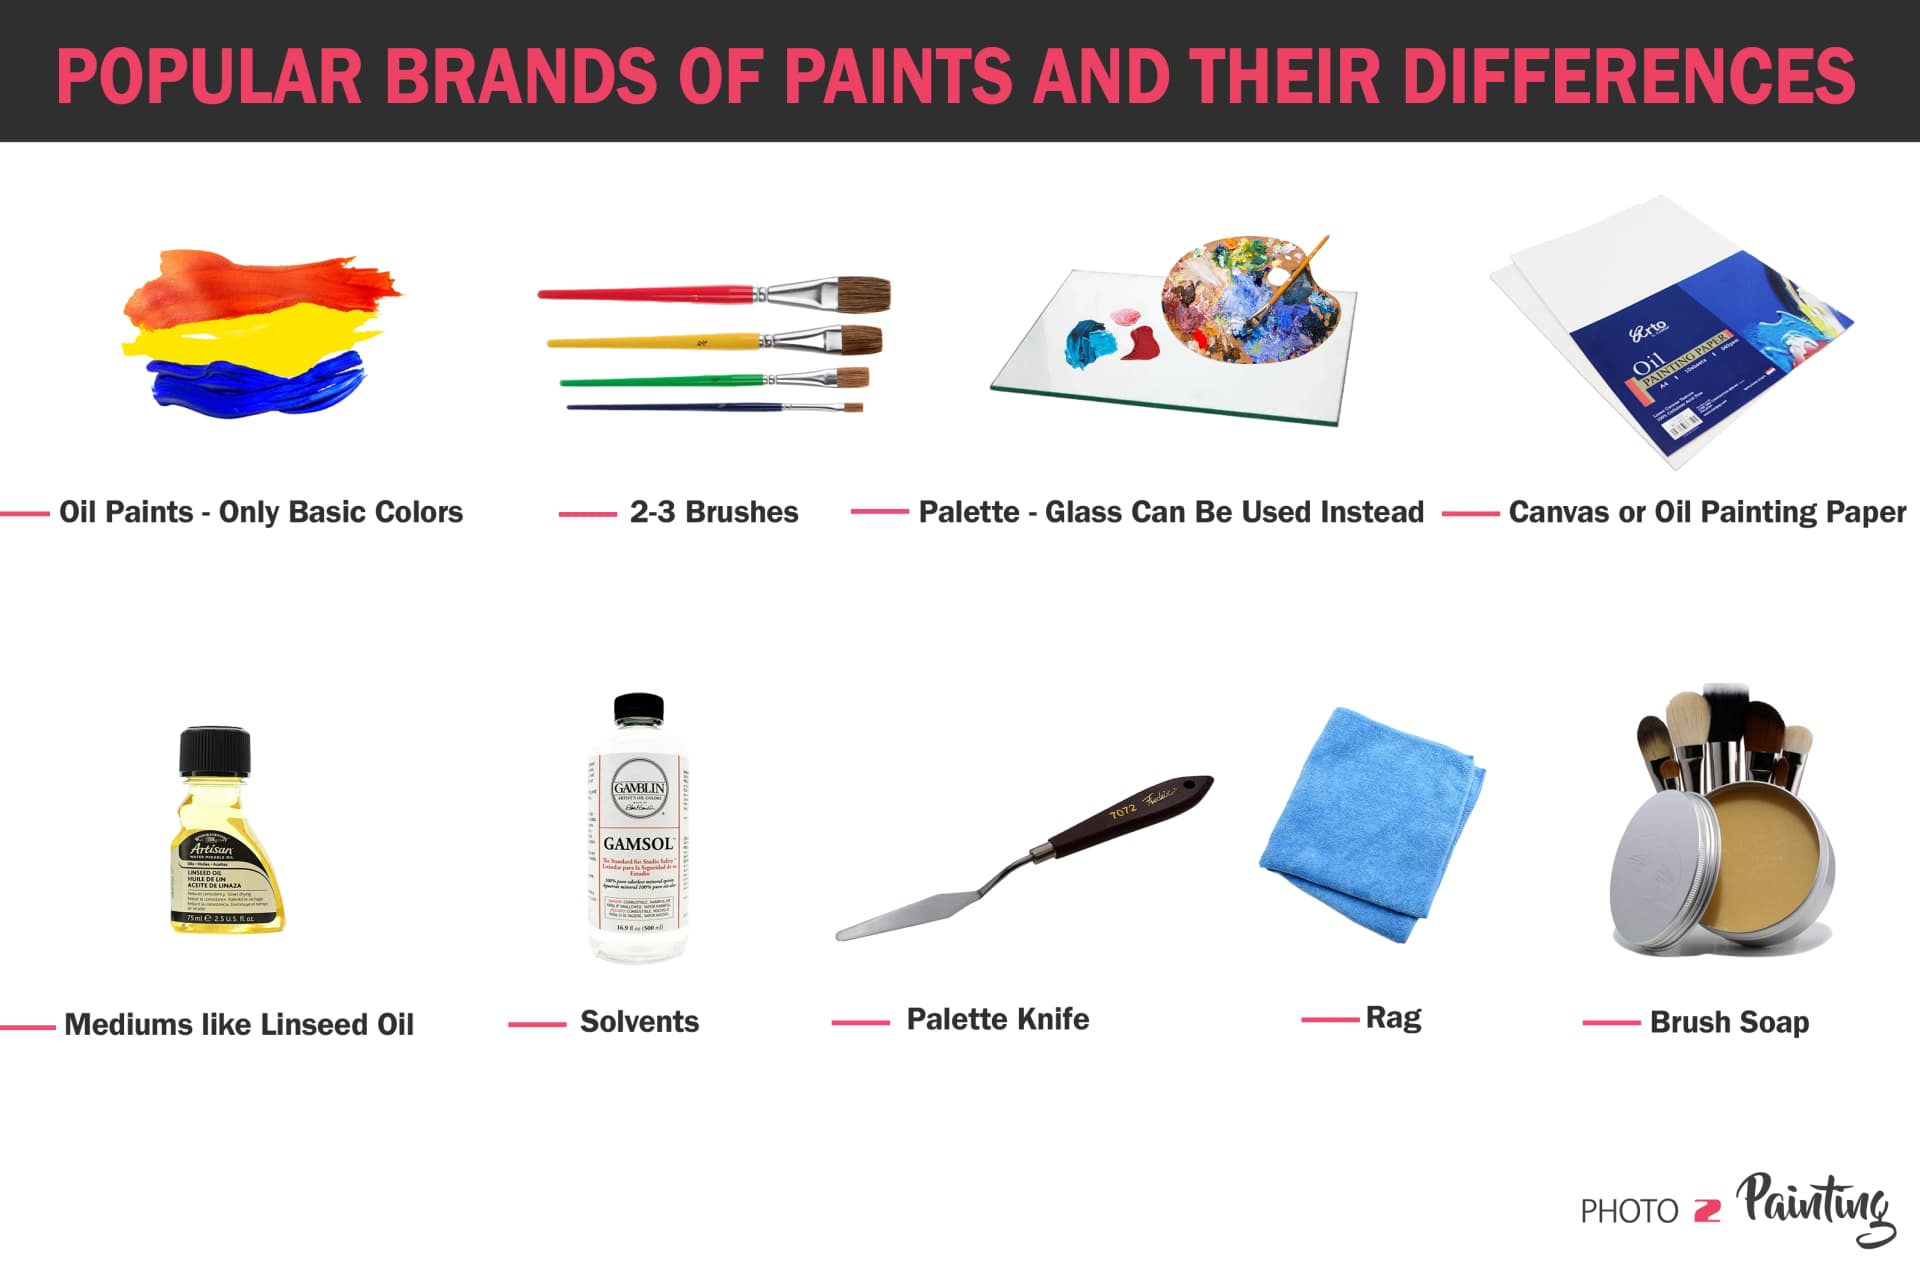
Before you begin oil painting, it’s important to have the right supplies. Don’t worry, you don’t need to break the bank or stockpile every product in the art store.
See our picks of basic supplies for oil painting below.
Supply | Budget-Friendly Range | Professional Range |
Paints | $15–$25 | $50–$100+ |
Brushes | $10–$20 | $30–$60 |
Palette | $5–$10 | $20–$40 |
Surface | $10–$15 | $20–$50 |
Mediums | $5–$10 | $20–$30 |
Solvents | $10–$15 | $25–$40 |
Palette Knife | $5–$10 | $15–$25 |
Brush Soap | $5–$10 | $10–$20 |
1. Paints
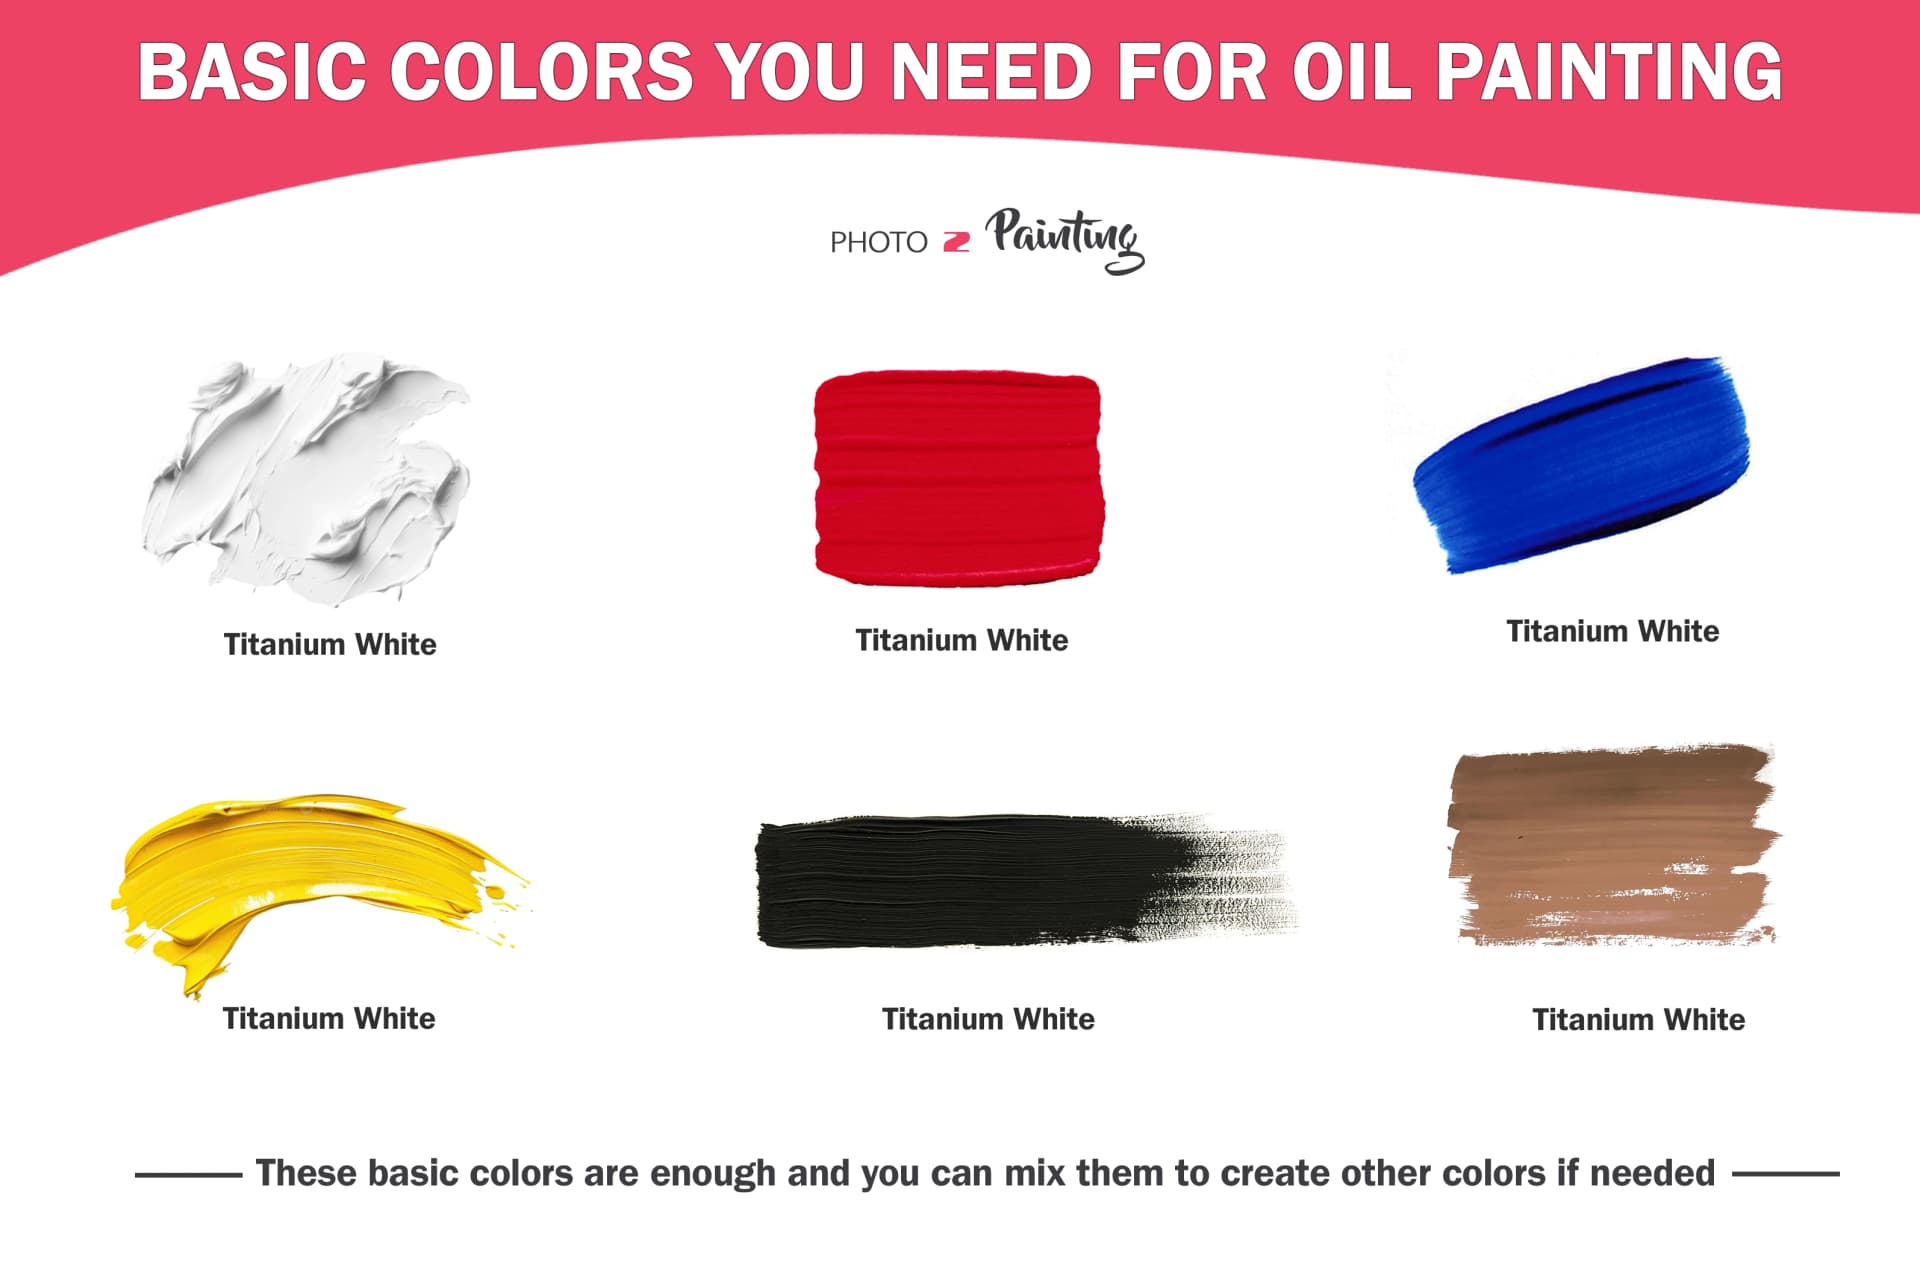
Obviously, you’ll need some oil paint. However, you don’t need all the colors. You can start simple, with a limited palette. Start with the colors listed below.
- Titanium White – For lightening and mixing.
- Cadmium Red – A warm red for oranges and muted pinks.
- Ultramarine Blue – A primary blue for greens, purples, and dark shades; affordable and beginner-friendly.
- Yellow Ochre – A muted yellow for earthy tones and skin tones, easier to control than brighter yellows.
- Ivory Black – For grays and deep shadows.
- Burnt Umber (optional) – Ideal for tonal underpainting and warm shadows.
Are these enough? Yes, these are basic colors that are versatile and teach you color mixing. Not only it’s cheaper this way, but you also get a deeper understanding of tones and shades.
????Tip: Look for artist-grade paints if possible for richer pigments. If on a budget, student-grade paints are fine to practice with but may lack vibrancy
2. Brushes
There are way too many paintbrushes to choose from. You don’t need to understand the purpose of each, just see the basic brush types.
- The flat is for broad strokes and filling large areas.
- Filbert has a rounded shape that is perfect for blending and softer edges.
- Round is great for detailed work and fine lines.
Does material matter? Yes, hog hair brushes are durable and hold oil paint well, while synthetic brushes leave a softer, more refined finish.
Tip: Don’t buy too many brushes at first—two or three in different shapes and sizes are enough to get started.
3. Palette
You don’t have to buy a fancy palette to start oil painting. You can just repurpose the glass from a picture frame and use it as DIY “glass palette”. Don’t forget to tape the edges for safety. Glass is smooth, easy to clean and it’s a perfect material for mixing colors without staining.
There are also disposable paper palettes that are easy to clean up. However, it might get costly in the long run.
4. Surfaces
Regular paper isn’t ideal for oil painting unless it’s properly primed or specifically designed for oils. However, there are some beginner-friendly choices listed below.
- Pre-primed canvas boards.
- Oil painting paper (e.g., Arches Oil Paper).
- Cardboard or MDF board coated with gesso.
Why do we prime the canvas? Priming ensures the paint adheres well and prevents the oil from damaging the surface.
Fun fact! Leonardo da Vinci often painted on wooden panels, which are still an option today.
5. Mediums
Mediums alter the texture and drying time of oil paint. For instance, linseed oil ads fluidity and gloss but slows drying. On the other hand, Liquin speeds up drying and is great for beginners who want faster results.
You can paint straight from the tube, but experimenting with mediums can make your experience more fun. However, you don’t particularly need it.
Why bother with mediums? Simply because they are another way to explore different oil painting techniques. For example, linseed oil is great for creating smooth, shiny surfaces, while Liquin can help with layering faster. They can also affect the finish - some are more glossy and some can help with thickening the paint and creating thick bold strokes that are useful for impasto effects.
6. Solvents
Solvents are used for thinning paint and cleaning brushes, but they can be intimidating for beginners due to safety concerns. Some safe, beginner-friendly options include Gamsol or Winsor & Newton Sansodor, which are odorless and less harsh compared to traditional turpentine.
❗ Avoid traditional turpentine—it’s toxic and harsh.
How to use solvents safely?
- Always work in a well-ventilated area to avoid inhaling fumes.
- Store solvents in airtight containers to minimize exposure and prevent spills.
- Keep them away from heat sources, as they can be flammable.
- Use only small amounts at a time and dispose of them responsibly.
Remember: If you’re using solvents, store them in sealed containers to prevent fumes from escaping and keep them safely contained.
Is there any way to not use solvents? Yes, you can go entirely solvent-free using just linseed oil and specialized brush soaps. This is a great alternative for a safer, eco-friendly setup.
7. Additional Tools
Some additional tools you might need to start oil painting are palette knife, rags or paper towels and a brush soap. Now what’s the purpose of each?
- Palette knife is for mixing colors or applying thick paint in textured strokes. They can also create dynamic, textured strokes that brushes can’t replicate.
- Rags or paper towels are essential for cleaning brushes and wiping excess paint.
- Brush soap keeps your brushes clean and extends their lifespan.
How to Set Up Your Space For Oil Painting?
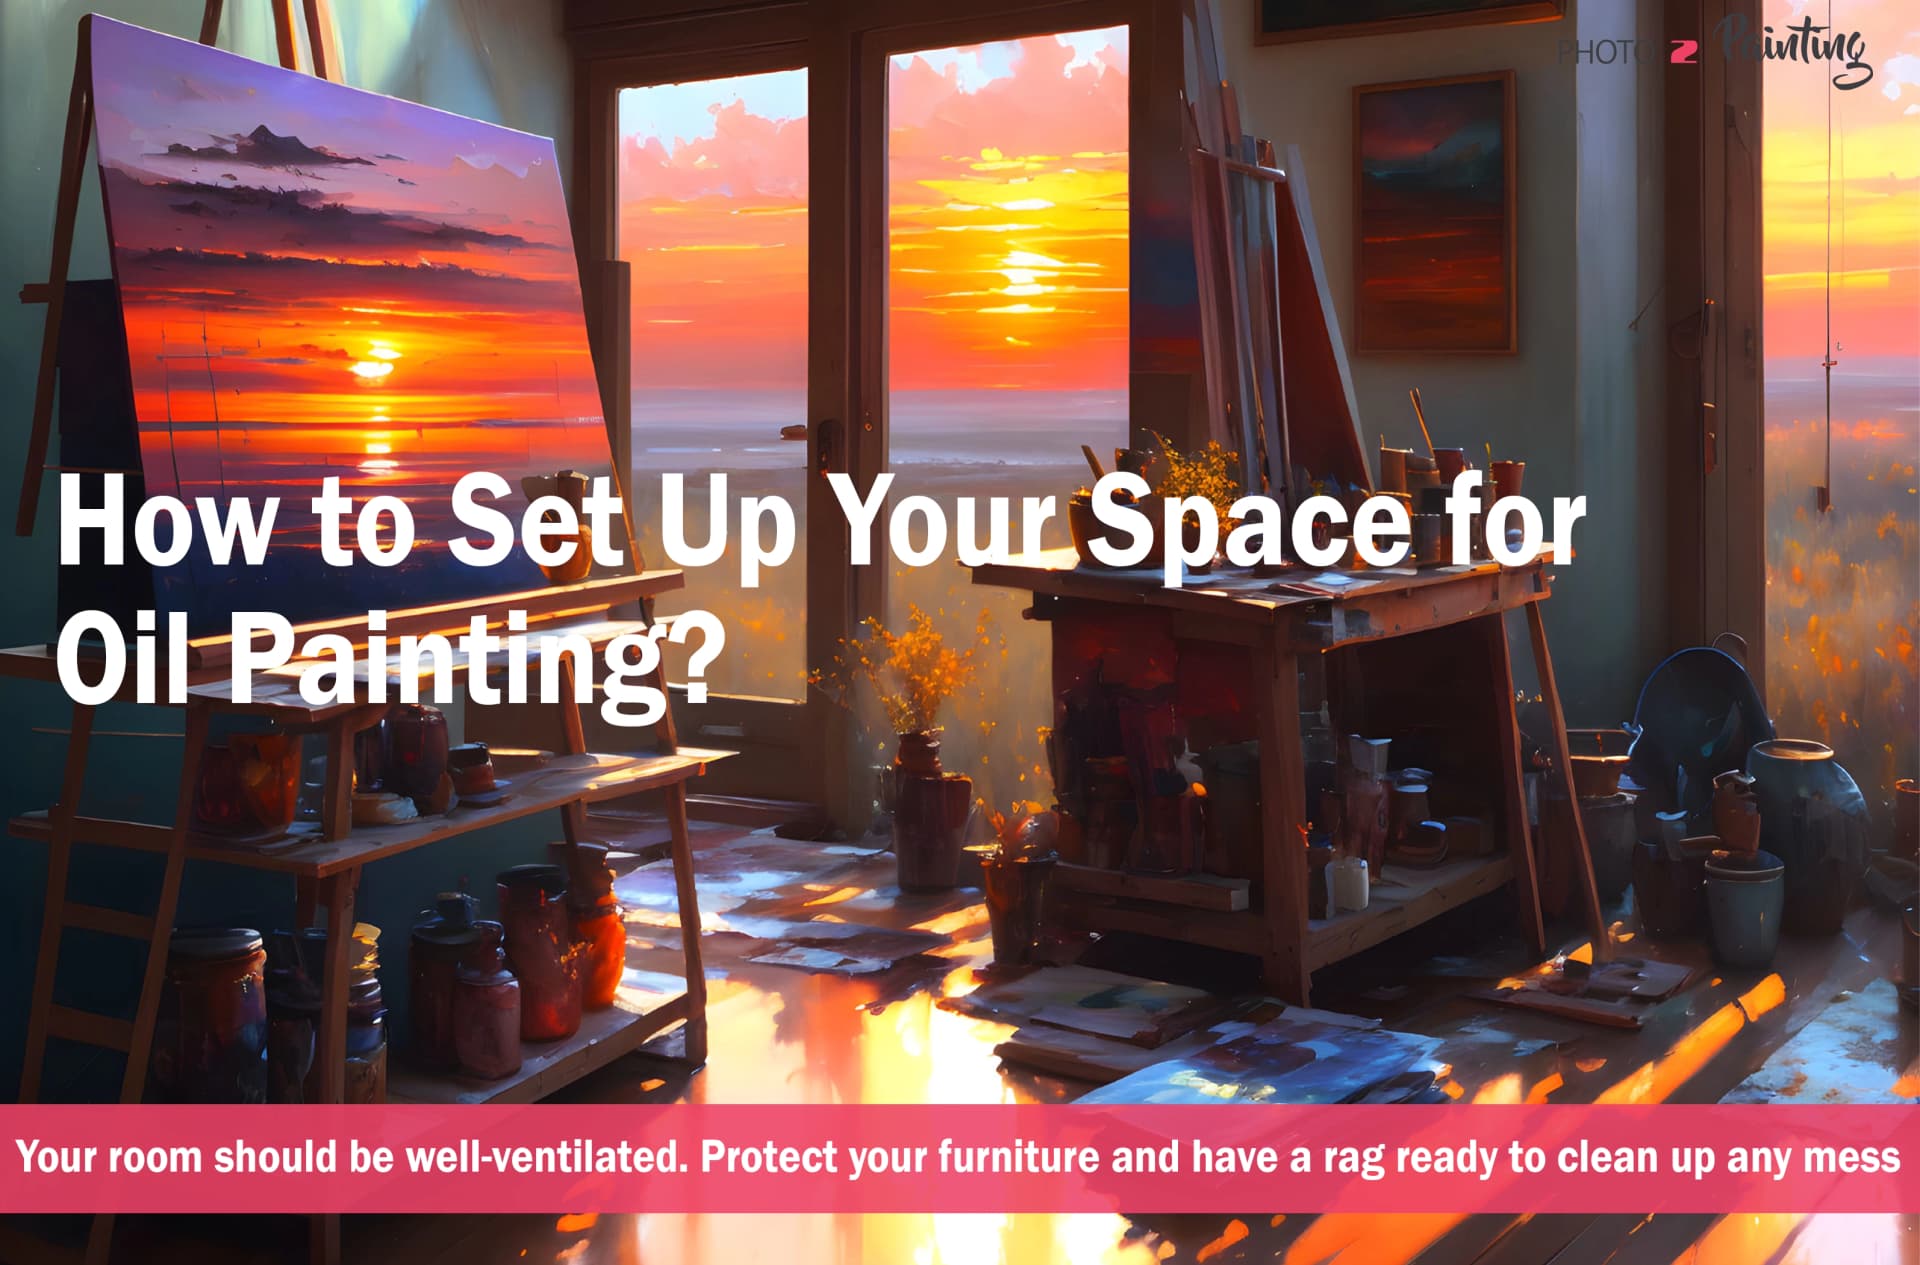
First, choose a good spot to start your project. Find a well-ventilated area to make sure that fresh air circulates, especially if you’re using solvents. Good lighting is also crucial. Natural light is ideal, but if that’s not possible, invest in a bright, daylight-balanced lamp to see colors accurately.
You can get an easel to keep your artwork at your eye level. But, it’s not mandatory.
Protect your table or floor with a plastic sheet or old newspapers to catch drips. Designate a spot for drying oil paintings, as oils take time to set.
Don’t skip these steps. Before you begin painting, it’s important to create a workspace that’s functional, comfortable and safe.
How to Prepare Before You Start Your Oil Painting?
1. Stain a Canvas
Apply a thin wash of Burnt Umber or Yellow Ochre to create a neutral base and reduce glare. Mix a small amount of paint with a solvent or linseed oil, spread it evenly with a brush or rag, and wipe off excess. Let it dry completely before painting.
2. Sketch Your Composition
A simple sketch acts as a blueprint, helping with composition and placement. Use a pencil, charcoal, or diluted paint to outline main shapes—avoid excessive detail. If using charcoal, lightly fix it with spray fixative to prevent smudging.
Beginner-Friendly Oil Painting Techniques You Can Try
When you’re ready to start your oil painting, it’s helpful to understand some basic techniques like Alla Prima and Fat Over Lean.
Alla Prima (Wet-on-Wet)
Alla Prima technique means completing your painting in one session while the paint is still wet. You have to work quickly, layering wet paint over wet paint without letting it dry. Use a soft brush for blending edges and a palette knife for bold, textured strokes.
Why It’s great for beginners? You can blend colors directly on the canvas for smoother transitions. Plus, it encourages spontaneity and experimentation.
Layering (Fat Over Lean)
Layering is a method where you build up your painting in layers, starting with thin, lean paint and adding thicker, oil-rich layers on top.
You have to begin with a thinned paint layer (using solvent or medium) for the underpainting. Then, you can gradually add more oil or medium to the paint in successive layers.
Why it’s useful? Gives you more control to adjust details and refine your work over time. This method prevents cracking, as the top layers dry more slowly than the base.
Blocking In Shapes
This is the process of painting large, simple shapes first to establish the composition. You can use a large brush and bold strokes to fill in the major areas of the canvas. Don’t worry about perfection—this stage is about laying the groundwork.
Why it’s helpful? It lets you focus on the overall structure before painting the details. Plus, it helps maintain balance and proportion in your painting.
Blending
Blending is the technique of softly transitioning between two colors to create smooth gradients. This technique is important when creating realistic effects like skies, skin tones, or shadows.
You can use a clean, dry brush to gently feather the edges where two colors meet. Work slowly to avoid overmixing, which can muddy the colors.
Palette Knife Techniques
You can use a palette knife instead of a brush to apply paint. You can load the knife with paint and spread it on the canvas like butter on toast. Feel free to experiment with angles and pressure to create different effects.
Why it’s fun? First, it’s easy and you can feel satisfied with your first oil painting! This technique creates bold textures and dynamic effects. So, it’s great for building thick layers of paint or scraping away mistakes.
Beginner Mistakes to Avoid in Oil Painting
Starting with oil painting can be exciting, but it’s easy to make some common mistakes along the way. Don’t worry, first of all, mistakes are part of the learning process. Plus, these are easy to fix or avoid altogether if you know what to look out for.
1. Don’t Overload the Supplies
Beginners often think they need every shade of paint or every type of brush. Stick to a limited palette and a few essential brushes. You can always add more as you grow confident in your skills.
2. Don’t Use Too Much Paint
It’s tempting to use large amounts, especially when mixing colors. Start with small amounts of paint on your palette. You can always add more if needed.
3. Don’t Mix Too Many Colors
Beginners often experiment with mixing without understanding color relationships. Stick to two or three colors at a time. A limited palette will help you learn how colors interact. Have color theory always ready at hand.
“Simultaneous contrast is not just a curious optical phenomenon - it is the very heart of painting.” - says Josef Albers.
4. Don’t Neglect Brush Care
Dried paint can ruin your brushes and make them unusable. Clean your brushes thoroughly with solvent and brush soap after each session. Don’t let them sit in water or solvent for long periods.
5. Don’t Rush the Drying Process
Beginners often get excited to see quick results. Be patient—oil paint takes time to dry. Use fast-drying mediums like Liquin if you’re short on time.
6. Don’t Compare Yourself to Others
Unrealistic expectations can take the joy out of learning. Art is about expressing yourself, it’s not a competition. If we wanted to see “overly perfect” paintings, everyone would use AI! Focus on your progress and enjoy the process. Every great artist started as a beginner!
Conclusion
If you’re ready to know more about oil painting, there’s a wealth of resources to help you along the way. Some highly recommended books include Oil Painting for the Serious Beginner by Steve Allrich, which simplifies core techniques, and The New Oil Painting by Kimberly Brooks, which focuses on modern approaches to the medium. For visual learners, YouTube channels like Paint Coach (Chris Fornataro), Florent Farges, and Andrew Tischler offer free tutorials, tips, and step-by-step projects that are perfect for beginners.
Looking for inspiration? Browse our curated selection of top artists' custom oil paintings. Seeing the mastery and creativity of others can spark your own ideas and show you what’s possible with oil painting.
Remember, every great painter started where you are now, with curiosity and a blank canvas. Embrace mistakes as opportunities to learn, and take your time to enjoy the process. Here’s a tip to keep in mind as you grow: step back often to view your work from a distance. You can also take a picture of the painting! Paintings look different in 2D, so sometimes it’s easier to see where to improve.
With the right resources, an open mind, and plenty of practice, you’ll be well on your way to creating stunning oil paintings. Happy painting!
Frequently Asked Questions
What Is a Good First Oil Painting Idea for Beginners?
A good first oil painting idea is something simple and enjoyable, like a still life with basic shapes—think apples, a vase, or a bowl. These subjects allow you to practice blending colors, layering, and working with light and shadow without overwhelming detail. Landscapes with clear horizons or abstract art using bold, expressive strokes are also beginner-friendly options.
Can You Self-Learn Oil Painting?
Yes, you can absolutely self-learn oil painting! With the right resources like books (Oil Painting for the Serious Beginner by Steve Allrich), YouTube tutorials (e.g., Paint Coach or Florent Farges), and beginner-friendly guides, you can master the basics on your own. Start small with a limited palette, simple compositions, and practice regularly. Remember, self-taught artists have the freedom to experiment and develop their unique style.
Is Oil Painting Harder Than Watercolors?
Oil painting isn’t necessarily harder than watercolors—it’s just different. While watercolors demand quick precision due to fast drying times, oil paints offer more flexibility because they stay wet longer, allowing you to rework areas. However, oil painting may seem more challenging initially due to the need for proper surface preparation, mediums, and clean-up. Both mediums have their own learning curves and rewards.
Is Oil Paint Hard for Beginners?
Oil paint can seem intimidating for beginners, but it’s not as hard as it looks with the right approach. Its slower drying time gives beginners the chance to blend and correct mistakes, making it forgiving. Start with a simple setup: a few basic colors, a primed surface, and a small painting project. With some patience and practice, oil painting can become a highly enjoyable and manageable medium.
George, CEO of Photo2painting, is a passionate art lover and entrepreneur. He founded Photo2painting.com from scratch, inspired by his artist friends. As the company's CMO, he manages content and marketing.
Excellent Customer Reviews
